

22 Jan Beginner guide to do Rendering
MIXING MORTAR BY MACHINE
You can hire a small-capacity electric or petrol-driven cement mixer. Such a mixer can save you much time and effort, especially on big jobs, and is quite easy to use.
Set the machine as close as possible to the work area and place a board under the drum to catch any spilt materials. If it is an electric-powered machine take all due precautions with the power supply and keep the cables well clear of the work.
Load the drum with half the measure of sand and add a similar proportion of cement, and lime if required. Dry-mix them by running the mixer, then add some water. Load the remainder of the materials in the same sequence, adding a little water in between.
Run the mixer for a couple of minutes to mix the materials thoroughly, then stop the machine and test some of the mix for consistency, as it may appear stiffer than it is.
A rendering mix should be less workable than a mix for bricklaying, and for rendering blockwork it is usually stiffer than for brickwork. But this will depend on the absorbency of the wall. It is advisable to wash out the drum of the mixer after each mix and to scour it out with water and some coarse aggregate at the end of the working day. If you return the machine with dry or I drying mortar in its drum you may be charged extra.
Cement mixer
Hire an electric or petrol-driven mixer when a large batch of mortar is required.
TEXTURED RENDERINGS
Renderings may be textured by tooling while damp to make patterns or by applying a coarse aggregate, which is a fairly skilled procedure (See below for details). Reproduce a texture when patch repairing.
Roughcast Rendering
For this rendering, mix aggregate no more than 1Omm in size with the top coat mortar. Use about half as much as the sand used with enough water for a sticky mix. Flick it on the wall to build up an even coat.
Pebble dash Rendering
Crushed stone aggregate gives pebbledash its color, and an even distribution of the chippings is required to avoid patchiness.
A 10 to 12mm thin top coat is applied and the stones thrown at it while soft, they are pressed with a float to bed them in.
Tyrolean Finish
A fine cement mix is sprayed from a hand-cranked Tyrolean machine’ to build up a decorative honeycomb texture over a dry undercoat rendering. Doors, windows, gutters etc.. Must be masked beforehand. Tyrolean machines may be hired.
Preparing the surface
- Neatly chop away the old loose coating on areas of cracked or blistered
- Rendering, using a hammer and chisel. Rake out the mortar joints in the
- Exposed brickwork if necessary and brush the area down. Clean off any organic growth like lichen or algae and apply a fungicide.
Working platform
Set up a safe working platform from which to do the rendering. You will need both hands free to use the tools, so it cannot be done from a ladder. Pairs of steps with a scaffold board between them can be used for working on ground floor walls, but for upper walls you will need a scaffold tower.
New work
Set up a 1Omm vertical screed battens spaced no more than 900mm apart, fixing them with masonry nails into the mortar joints of the brickwork. Check them for level and pack them out where necessary. Between two battens apply undercoat rendering with firm pressure to make it bond well onto the background, building it up to the thickness of the screed battens. Level the mortar off with a straight edge laid across the battens and worked upward with a side-to-side movement, then scratch the surface of the mortar to provide a key for the top coat and leave it to set for a week. You can fill in the panels between the battens in sequence or fill alternate ones. Whichever you do, let them set before removing the screeds. The former method will leave narrow strips to be filled in where the screeds have been removed, whereas in the second method the newly set alternate panels of rendering will provide a levelling surface for those to be done.
Apply top coat rendering about 6 mm thick, either freehand or with the aid of screed battens as before. In any case use a straight edge for levelling it off, then finish it with a wooden float, which will produce a finely textured surface on the rendering.
To apply rendering, this is the suggested Order of working:-
Set up a safe work platform
Divide the wall with vertical screeds
Apply the undercoat rendering between the screeds or alternate panels
Remove screeds and fill in gaps or panels
Apply top coat over keyed undercoat
PATCH REPAIRS
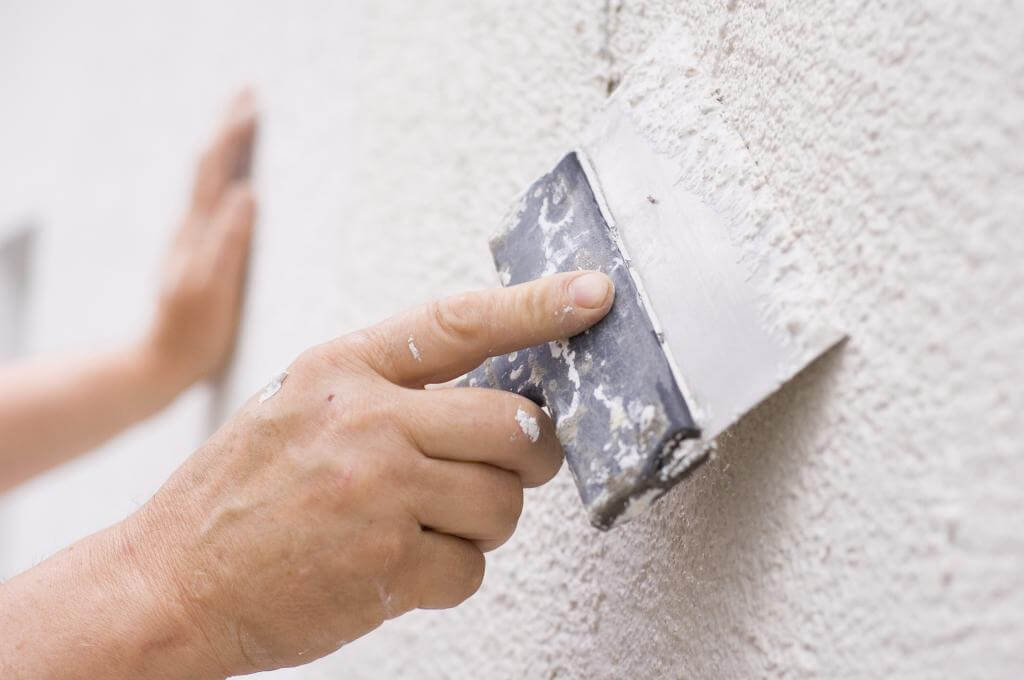
The rendering should be applied with a metal plasterer’s trowel and the top coat finished with a wooden float. Take a trowel full of mortar from your hawk and spread it on the wall with a firm pressure and applying it with an upward stroke.
Build up the undercoat layer no more than two thirds the thickness of the original rendering or 10mm, whichever is the thinner.
Level the mortar with a straight edged batten that fits within the cut-out of the area being patched, then scratch a key in the surface for the top coat. Leave the undercoat to set and strengthen for a few days.
The top coat
Before applying the top coat dampen the undercoat rendering if necessary to even out the suction. When the coat is on, level it with a straight edge laid across the surfaces of the surrounding rendering and worked upward with a side-to-side motion.
If you have any further questions please call our office.
We want you the reader to write to us on, any Building matters and questions or if you seek advice, we will gladly answer any topic that you wish us to discuss, so please send your letters to “BHIS” C/O. 17 Battye Road, Kardinya, W.A. 6163. Or fax/ph. (09) 331-3031